-
0
Patient Assessment
- 0.1 Patient Demand
- 0.2 Anatomical location
-
0.3
Patient History
- 2.1 General patient history
- 2.2 Local history
-
0.4
Risk Assessment
- 3.1 Risk Assessment Overview
- 3.2 Age
- 3.3 Patient Compliance
- 3.4 Smoking
- 3.5 Drug Abuse
- 3.6 Recreational Drug and Alcohol Abuse
- 3.7 Condition of Natural Teeth
- 3.8 Parafunctions
- 3.9 Diabetes
- 3.10 Anticoagulants
- 3.11 Osteoporosis
- 3.12 Bisphosphonates
- 3.13 MRONJ
- 3.14 Steroids
- 3.15 Radiotherapy
- 3.16 Risk factors
-
1
Diagnostics
-
2
Treatment Options
-
2.1
Treatment planning
- 0.1 Non-implant based treatment options
- 0.2 Treatment planning conventional, model based, non-guided, semi-guided
- 0.3 Digital treatment planning
- 0.4 NobelClinician and digital workflow
- 0.5 Implant position considerations overview
- 0.6 Soft tissue condition and morphology
- 0.7 Site development, soft tissue management
- 0.8 Hard tissue and bone quality
- 0.9 Site development, hard tissue management
- 0.10 Time to function
- 0.11 Submerged vs non-submerged
- 0.12 Healed or fresh extraction socket
- 0.13 Screw-retained vs. cement-retained
- 0.14 Angulated Screw Channel system (ASC)
- 2.2 Treatment options esthetic zone
- 2.3 Treatment options posterior zone
- 2.4 Comprehensive treatment concepts
-
2.1
Treatment planning
-
3
Treatment Procedures
-
3.1
Treatment procedures general considerations
- 0.1 Anesthesia
- 0.2 peri-operative care
- 0.3 Flap- or flapless
- 0.4 Non-guided protocol
- 0.5 Semi-guided protocol
- 0.6 Guided protocol overview
- 0.7 Guided protocol NobelGuide
- 0.8 Parallel implant placement considerations
- 0.9 Tapered implant placement considerations
- 0.10 3D implant position
- 0.11 Implant insertion torque
- 0.12 Intra-operative complications
- 0.13 Impression procedures, digital impressions, intraoral scanning
- 3.2 Treatment procedures esthetic zone surgical
- 3.3 Treatment procedures esthetic zone prosthetic
- 3.4 Treatment procedures posterior zone surgical
- 3.5 Treatment procedures posterior zone prosthetic
-
3.1
Treatment procedures general considerations
-
4
Aftercare
Tapered implant placement considerations
Key points
- Tapered implant design = root-form design.
- Indications: immediate implant placement, all types of bone quality especially soft bone, narrow gaps with root proximity of adjacent teeth.
- High insertion torques and primary stability.
- Most used implant design nowadays.
Advantages
The most widely used implant design nowadays is tapered/conical in analogy to the root form of teeth. Main advantages of a tapered design in contrast to straight-walled are: ideal for immediate implant placement, well-designed for narrow gaps with root proximity of adjacent teeth, high primary stability due to screw-design, soft bone and less risk of labial perforation due to the apical reduced diameter in all directions. The high insertion torque of tapered implants with a special screw design also favors them for immediate restoration. Despite the indication of tapered implants for all types of bone quality it has a significant advantage in soft bone (D4) as it condenses bone locally resulting in more implant stability. This advantage is also taken of in simultaneous augmentation/implantation procedures when, e.g., a transcrestal sinus lift is performed.
Product Options
The portfolio of Nobel Biocare tapered implant designs includes three different lines of implants: NobelReplace Conical Connection (CC), NobelReplace (Tri-lobe) and NobelActive. The latter has a pronounced self-tapping screw design, which allows correction of the position still during implant insertion, well suited for experienced and “active” guiding implant surgeon. The NobelActive line also includes the smallest implant diameter (Ø3.0mm) for very narrow gaps in the anterior region, still integrating the advantages of a flexible component prosthetical abutment design. Tapered implants with machined collar is only available the NobelReplace CC and NobelReplace series.
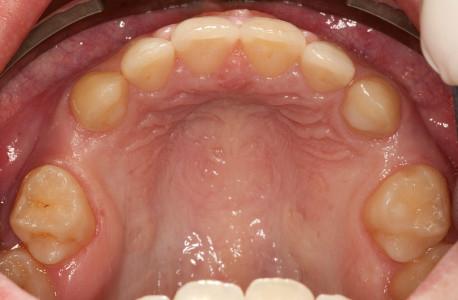
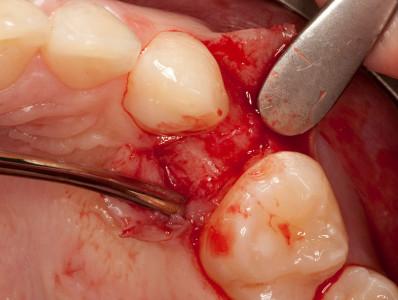
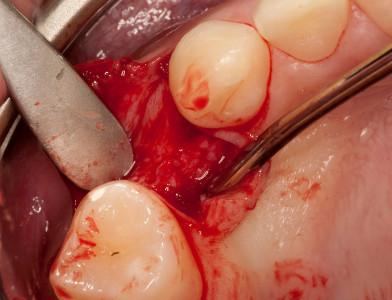
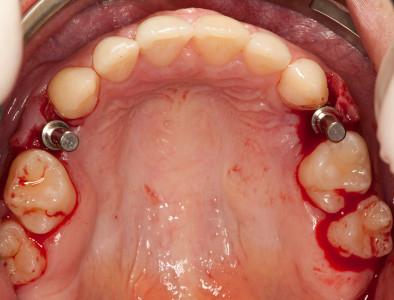
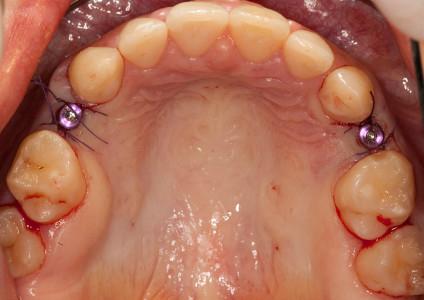
Figure: 1 Intraoral situations: 2 intermediate gaps in region #14 and #24 (#5 & 12 UNIV) Figure 2: Raise of minimal mucoperiosteal flap in region #24 (#12 UNIV)
Figure 3: Raise of minimal mucoperiosteal flap in region #14 (#5 UNIV) Figure 4: Control of the position with the implant direction indicator
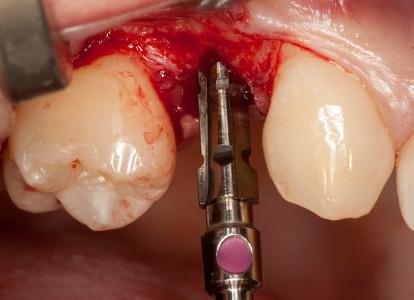
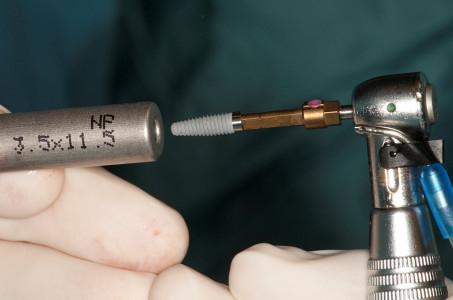
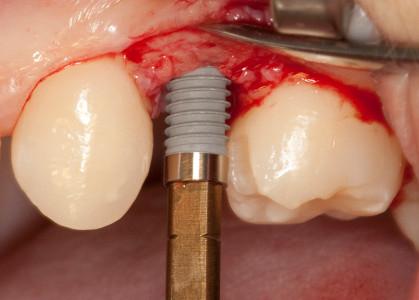
Figure 5: Implant bed preparation with tapered drills (here: Ø 3.5mm) Figure 6: Picking up the Implant (note: the implant is fully seated on the implant driver)
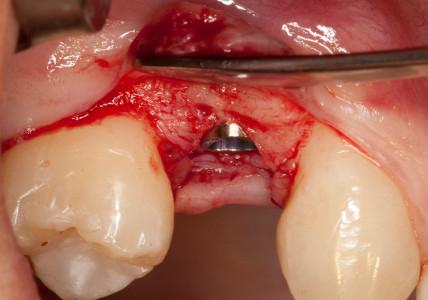
Figure 7: The implant is inserted (note: max. placement torque 45 Ncm) Figure 8: Slightly subcrestal implant placement (note: the visible machined collar on the buccal site provides ease of oral hygiene in case of proximal bone loss)
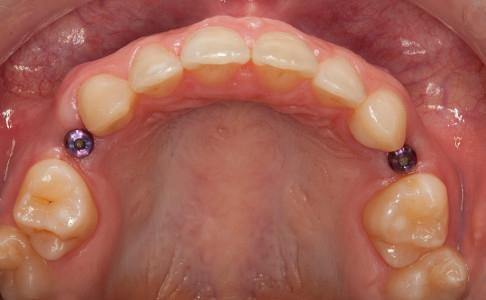
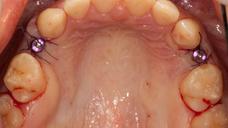
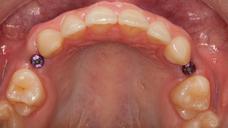
Figure 9: Single sutures are placed for repositioning of the mucoperiosteal flap Figure 10: Intraoral situation 1 week after implant placement and suture removal
