-
0
Patient Assessment
- 0.1 Patient demand
- 0.2 Overarching considerations
- 0.3 Local history
- 0.4 Anatomical location
- 0.5 General patient history
-
0.6
Risk assessment & special high risk categories
- 5.1 Risk assessment & special high risk categories
- 5.2 age
- 5.3 Compliance
- 5.4 Smoking
- 5.5 Drug abuse
- 5.6 Recreational drugs and alcohol abuse
- 5.7 Parafunctions
- 5.8 Diabetes
- 5.9 Osteoporosis
- 5.10 Coagulation disorders and anticoagulant therapy
- 5.11 Steroids
- 5.12 Bisphosphonates
- 5.13 BRONJ / ARONJ
- 5.14 Radiotherapy
- 5.15 Risk factors
-
1
Diagnostics
-
1.1
Clinical Assessment
- 0.1 Lip line
- 0.2 Mouth opening
- 0.3 Vertical dimension
- 0.4 Maxillo-mandibular relationship
- 0.5 TMD
- 0.6 Existing prosthesis
- 0.7 Muco-gingival junction
- 0.8 Hyposalivation and Xerostomia
- 1.2 Clinical findings
-
1.3
Clinical diagnostic assessments
- 2.1 Microbiology
- 2.2 Salivary output
-
1.4
Diagnostic imaging
- 3.1 Imaging overview
- 3.2 Intraoral radiographs
- 3.3 Panoramic
- 3.4 CBCT
- 3.5 CT
- 1.5 Diagnostic prosthodontic guides
-
1.1
Clinical Assessment
-
2
Treatment Options
- 2.1 Mucosally-supported
-
2.2
Implant-retained/supported, general
- 1.1 Prosthodontic options overview
- 1.2 Number of implants maxilla and mandible
- 1.3 Time to function
- 1.4 Submerged or non-submerged
- 1.5 Soft tissue management
- 1.6 Hard tissue management, mandible
- 1.7 Hard tissue management, maxilla
- 1.8 Need for grafting
- 1.9 Healed vs fresh extraction socket
- 1.10 Digital treatment planning protocols
- 2.3 Implant prosthetics - removable
-
2.4
Implant prosthetics - fixed
- 2.5 Comprehensive treatment concepts
-
3
Treatment Procedures
-
3.1
Surgical
-
3.2
Removable prosthetics
-
3.3
Fixed prosthetics
-
3.1
Surgical
- 4 Aftercare
Implant overdenture impressions
Key points
- The objective of the impression is to transfer the intraoral situation of soft tissue conditions and implant position to the laboratory model
- Impressions can be made with open tray or closed tray techniques
- Impressions can be made with splinted or non-splinted impression copings
- Digital impressions offer advantages in terms of the digital workflow, and provide treatment convenience for patient and clinician
- For digital impression taking, scan bodies are used instead of transfer copings
Soft tissue surface and implant position recording
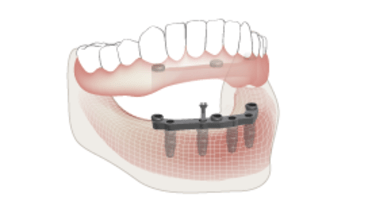
Impression making in implant overdenture therapy simultaneously records healthy available denture-bearing tissue surfaces and implants’ positions in edentulous arches. The objective is a shared retention and force distribution between implants and soft tissues, while ensuring necessary support from denture bases. Capturing functional movements of the patient's intra-oral musculature through border molding lends to a successful outcome by minimizing the risk of overextended overdenture base extensions. Clearly, the overall objectives of the impression making procedure are different to those when making impressions for implant fixed prostheses where proper denture base extensions and mucosal support are not needed.
Clinical steps
The optimal impression making protocol requires specific clinical and laboratory techniques - especially designed rigid custom trays, impression transfer copings (splinted or unsplinted), resilient impression materials and laboratory implant analogues that match impression-retained transfer copings.
- Individual implant periapical films should be made to ensure correct abutment and coping seating. In addition, these images may also serve as a reference point for monitoring future marginal bone levels.
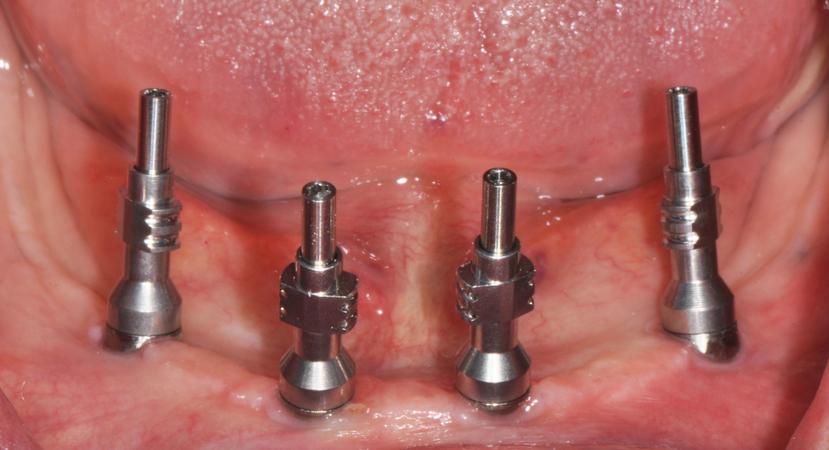
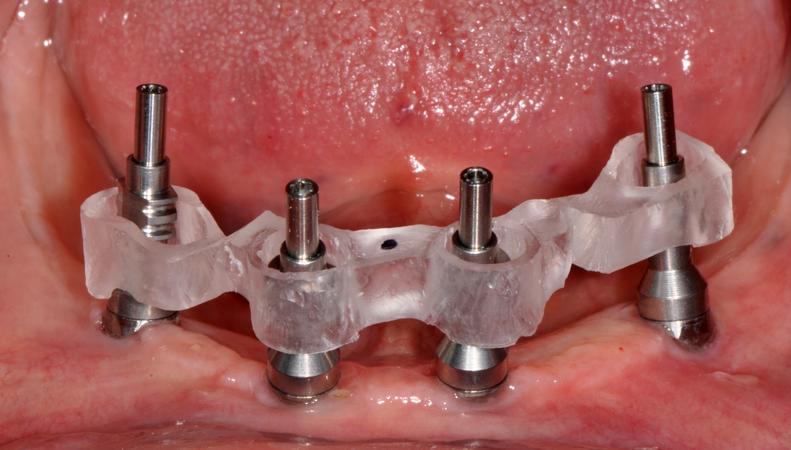
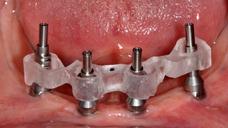
- Rigid impression trays made on stone casts with appropriate wax relief to accommodate implant abutments plus transfer coping’ positions. The impression copings may be splinted. Tray designs may be open or closed - a choice reflected in the selection of impression transfer coping and discussed in greater detail in another section.
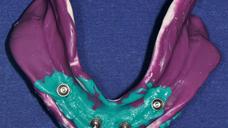
- Impression material is carefully syringed around the implant abutments or transfer copings and the resilient material tray placed in the mouth. This latter step may be more reliably executed with open tray designs as it provides the clinician with greater flexibility to place and position the impression and perform any necessary border molding procedures.
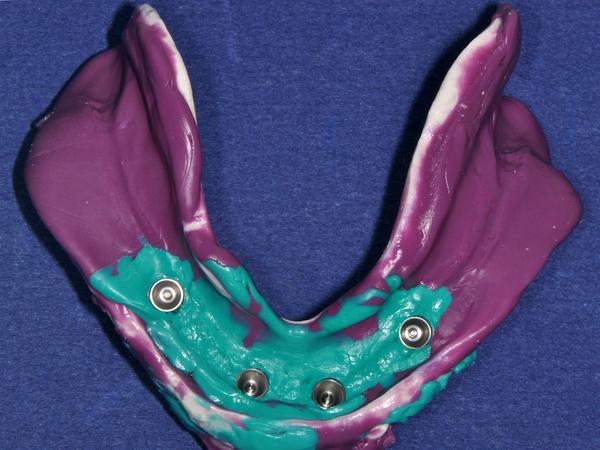
- Once the resilient material has polymerized, transfer impression copings are unscrewed (when open trays are used), and the impression is removed. If a closed tray was used, the impression would be retrieved and the transfer copings remain.
- Laboratory: In either case, laboratory abutment/implant analogs are attached to the transfer copings and the final impressions poured in dental stone.
Digital impressions
Today a great variety of intraoral scanners are available each with specific technique and software. The software compatibility and the digital data transfer have to be verified and established with the laboratory technician.
For digital impression making, scan bodies are used instead of transfer copings. Assessment of proper fit of the scan bodies by radiographs is recommended. The scanning process has to follow the procedure prescribed by the specific characteristics of the intraoral scanner. Based on the digital data set the technician obtains a virtual master cast that is converted into an analog one, either with milling, printing or stereolithographic technique. It is possible to fabricate a titanium bar entirely by a digital process, i.e. intraoral scanning, virtual model and virtual bar design, followed by final milling. This is an optimal method to increase the efficiency of treatment for patient and clinician and eliminate errors and imprecision.
