-
0
Patient Assessment
- 0.1 Patient Demand
- 0.2 Anatomical location
-
0.3
Patient History
- 2.1 General patient history
- 2.2 Local history
-
0.4
Risk Assessment
- 3.1 Risk Assessment Overview
- 3.2 Age
- 3.3 Patient Compliance
- 3.4 Smoking
- 3.5 Drug Abuse
- 3.6 Recreational Drug and Alcohol Abuse
- 3.7 Condition of Natural Teeth
- 3.8 Parafunctions
- 3.9 Diabetes
- 3.10 Anticoagulants
- 3.11 Osteoporosis
- 3.12 Bisphosphonates
- 3.13 MRONJ
- 3.14 Steroids
- 3.15 Radiotherapy
- 3.16 Risk factors
-
1
Diagnostics
-
2
Treatment Options
-
2.1
Treatment planning
- 0.1 Non-implant based treatment options
- 0.2 Treatment planning conventional, model based, non-guided, semi-guided
- 0.3 Digital treatment planning
- 0.4 NobelClinician and digital workflow
- 0.5 Implant position considerations overview
- 0.6 Soft tissue condition and morphology
- 0.7 Site development, soft tissue management
- 0.8 Hard tissue and bone quality
- 0.9 Site development, hard tissue management
- 0.10 Time to function
- 0.11 Submerged vs non-submerged
- 0.12 Healed or fresh extraction socket
- 0.13 Screw-retained vs. cement-retained
- 0.14 Angulated Screw Channel system (ASC)
- 2.2 Treatment options esthetic zone
- 2.3 Treatment options posterior zone
- 2.4 Comprehensive treatment concepts
-
2.1
Treatment planning
-
3
Treatment Procedures
-
3.1
Treatment procedures general considerations
- 0.1 Anesthesia
- 0.2 peri-operative care
- 0.3 Flap- or flapless
- 0.4 Non-guided protocol
- 0.5 Semi-guided protocol
- 0.6 Guided protocol overview
- 0.7 Guided protocol NobelGuide
- 0.8 Parallel implant placement considerations
- 0.9 Tapered implant placement considerations
- 0.10 3D implant position
- 0.11 Implant insertion torque
- 0.12 Intra-operative complications
- 0.13 Impression procedures, digital impressions, intraoral scanning
- 3.2 Treatment procedures esthetic zone surgical
- 3.3 Treatment procedures esthetic zone prosthetic
- 3.4 Treatment procedures posterior zone surgical
- 3.5 Treatment procedures posterior zone prosthetic
-
3.1
Treatment procedures general considerations
-
4
Aftercare
Guided protocol, NobelGuide
Key points
- Prosthetic wax-up prepared prior to surgical planning
- SmartFusion merges multiple scans to a single prosthetic & surgical view
- NobelClinician planning software
- Surgical template enables guided (accurate) implant placement and flapless surgery
- Predictable prosthetic outcome
Implant placement following a fully guided protocol (in contrast to semi-guided or by conventional manual guidance) allows the most versatile implant positioning in matters of anatomical limitations (maxillary sinus, nasal cavity, neurovascular structures, adjacent tooth roots, etc.) in respect to the residual bone volume. Indications for fully guided implant placement are universal and are not only restricted to severe and complex cases, furthermore extending the indications for medically compromised patients, e.g. under moderate top medium anticoagulation therapy due to the flapless, minimal-invasive approach. The fully guided approach, however, also is believed to be helpful in the beginning of the learning curve of implant dentistry. It has to be clearly stated, that sufficient implant experience for supervision is mandatory for the clinical use of guided protocols, thus could avoid failures, which may have a negative impact on prosthetic care or injure anatomical structures (e.g. wrong implant axis leading to challenging/frustrating or even impossible prosthetic care).
The single-tooth NobelGuide protocol allows fully guided implant placement requiring these requisites:
CT Scan
Patient is scanned without any scanning devices (e.g. no radiographic guides, no barium sulfate denture teeth). Opposing arches should be separated slightly with a cotton roll or equivalent.
Design final prosthetic outcome and SmartFusion
The dental technician or prosthodontist created the ideal prosthetic vision as a wax-up on the model. Unlike traditional restorations where the wax-up is created after implant placement (often to make adjustments for less-than-ideal implant placement), with NobelClinician this critical prosthetic step is done before surgical planning.
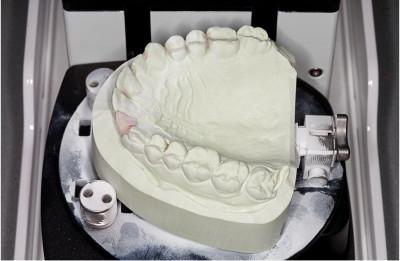
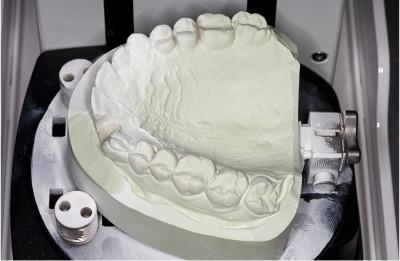
The model is scanned (NobelProcera 2G scanner, Nobel Biocare AG) once without the wax-up in place to capture all the soft-tissue contours and scanned again with the wax-up in place to record the desired prosthetic position and shape.
NobelClinician (planning software)
The planning software enables fusion of the patient CT scan and optical surface-scan data of the stone model & stone model with waxup from the NobelProcera 2G scanner). After the fusion process it is important to indicate/locate the position of the mandibular canal, which will be highlighted and will allow keeping a minimal safety distance during implant planning. The software offers the selection of various implant types and dimensions for different anatomical and clinical situations (e.g. tapered vs. straight, with/without machined collar…). After planning of the implants, the correct tooth positions can be assigned. The implantologist should then finally thoroughly check the planning for possible interferences with adjacent tooth roots, sinuses/neurovascular structures or perforations. The surgical template (with matching guided sleeves according to the selected implants) is visualized by the software for final modifications. As the final step the surgical NobelGuide template can be ordered.
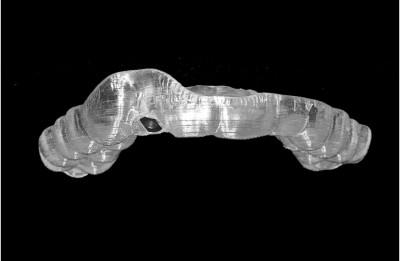
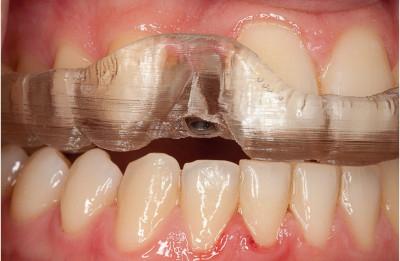
The NobelGuide surgical template
Before surgery, the reposition of the template should be verified and modified as necessary to ensure a solid, non rocking fit to the existing dentition. The template-based implant placement is stabilized by adjacent natural teeth and implant placement is guided in three dimensions including a vertical stop (watch: stop control is dependent on the implant system). However the procedure must be always and continuously checked and supervised by the implant surgeon who is forensically responsible for the outcome of the surgery. For this reason it is also strongly recommended that the same experienced and qualified person should do planning and NobelGuide surgery.
The following case demonstrates the use of the NobelGuide system in detail.
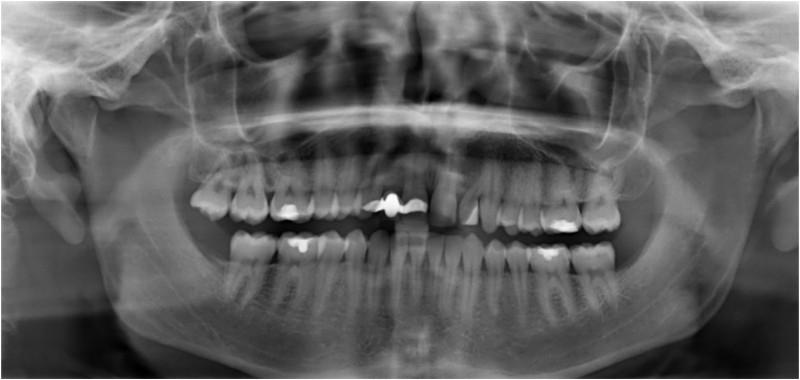
Figure 1: Preoperative panoramic x-ray: missing tooth #12 (#7 UNIV), resin bonded bridge #11-13 (#6-8 UNIV). Note: dilacerated root of tooth #22 (#10 UNIV)
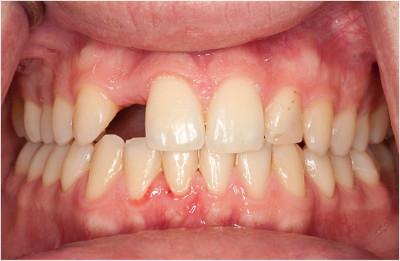
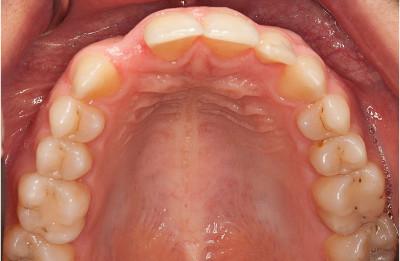
Figure 2a Figure 2b Figures 2a & 2b: Intraoral situation before surgery
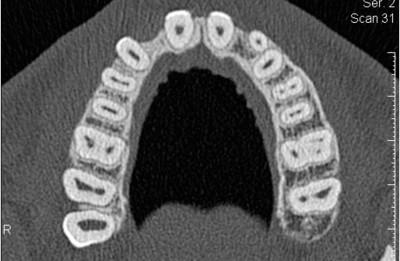
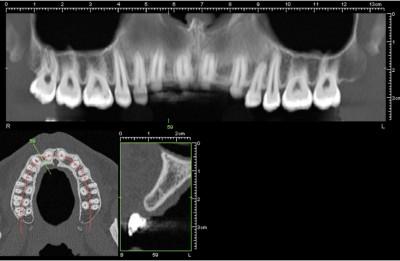
Figure 3a: The preoperative CT scan indicates an interdental
space of 6mm in region #12 (#7 UNIV) Figure 3b: The reformatted CT scan indicates enough bone volume in terms of height and width. An implant with a length of 13mm is planned
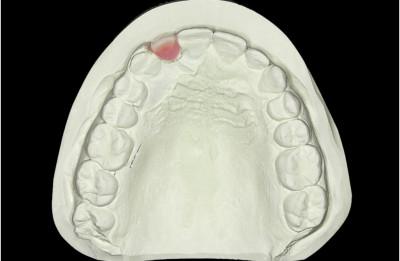
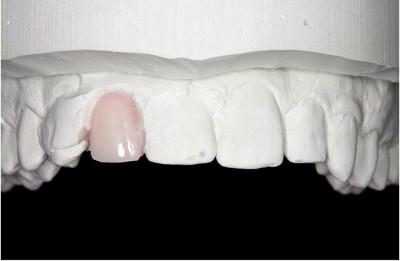
Figure 4a Figure 4b Figures 4a & b: After impression taking (note: the resin bonded bridge was blocked out with wax), the old pontic was removed on the cast and a new pontic tooth was installed
Figure 5a: Figure 5b: The pontic tooth #12 (#7 UNIV) was removed after the first scan.
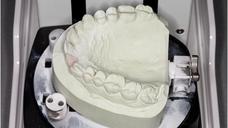
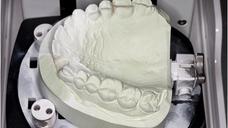
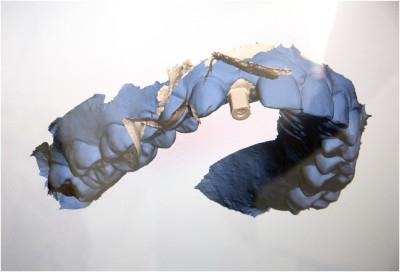
Figures 5a & b: The cast model was mounted (and sprayed) in the Nobel Biocare NobelProcera Scanner 2G. The cast model needs to be scanned twice: once with the wax-up/the pontic (Figure 5a) and the second time without the wax-up/the pontic (Figure 5b)
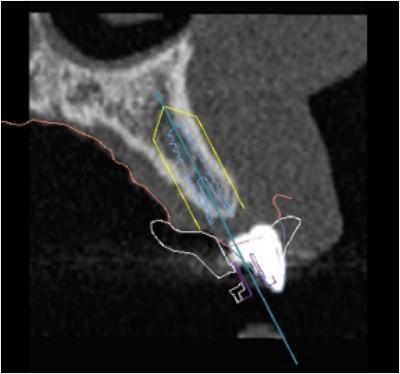
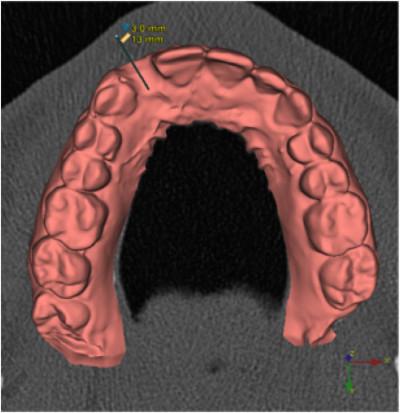
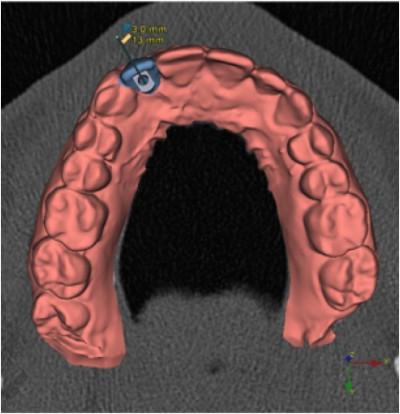
Figure 6: Smartfusion = Superimposition of the NobelProcera Scan with the original CT scan The white pontic belongs to the patients resin bonded bridge and does not represent the new pontic from the wax-up. The resin bonded bridge was removed for the surgical procedure the first time! The light blue line indicates the implant and the pontic of our wax-up, while the red line indicates the soft tissue.
Figure 7a Figure 7b Figures 7a & 7b: Visualization of the final prosthetic outcome and allowing the screw access hole to be within the cingulum An implant with a length of 13mm and a diameter of 3mm is planned
Figure 8: Surgical Template – pilot-drill guide only (template stabilization is achieved by the remaining teeth) Figure 9: Intraoral situation with the Surgical Guide
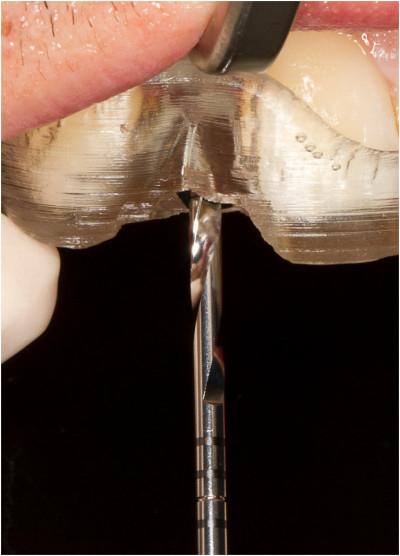
Figure 10: First and last drill (2mm) (Note the soft tissue was excised with a blade prior to drilling procedure)
Figure 11: Visualization of final implant position
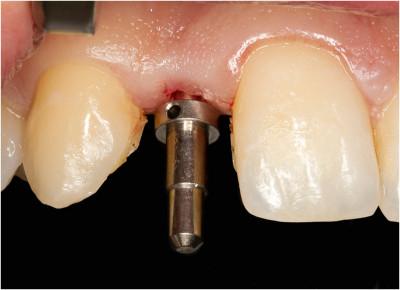
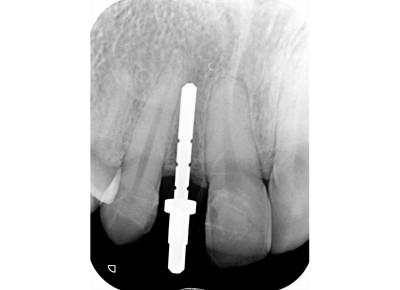
Figure 12: An intraoperative x-ray has been performed due to the vicinity of the adjacent tooth roots. Note: The direction indicator seems to hit the adjacent root - this artifact is due to the minor rotational distortion of the xray.
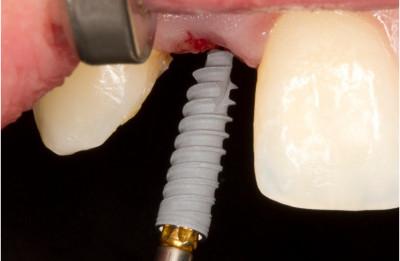
Figure 13: Insertion of a Nobel Active implant
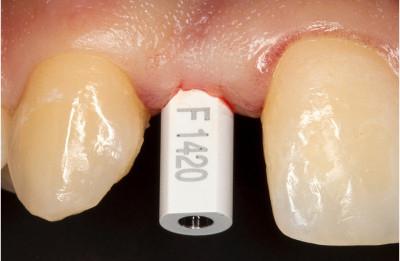
(length: 13mm, diameter: 3mm) Figure 14: A scan body was mounted immediately after the implant insertion
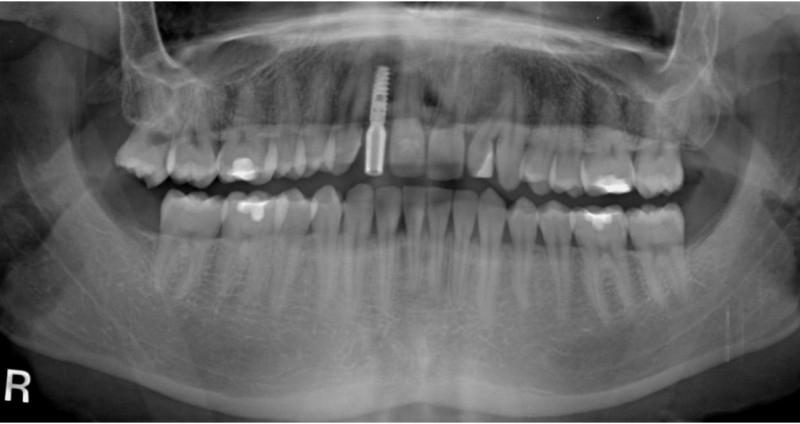
Figure 15: Postoperative panoramic x-ray to check implant position and proper fitting of the scan body
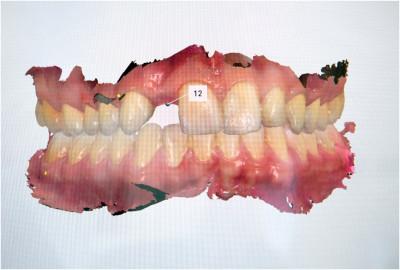
Figure 16a Figure 16b Figures 16a & 16b: Screenshots from the intraoral scan
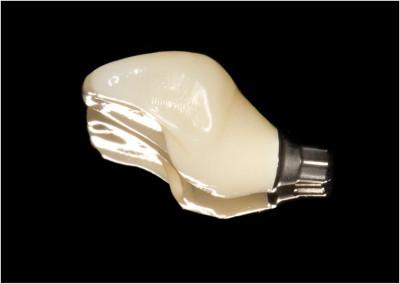
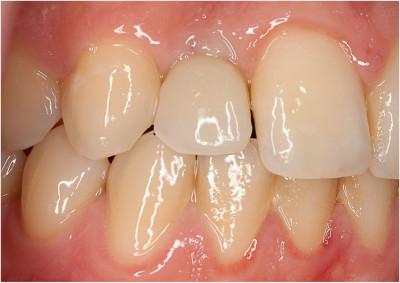
Figure 17: Final restoration for immediate implant loading Figure 18: Intraoral situation after mounting of the implant crown (immediate loading)
Clinical case with courtesy of Prof. Christoph Vasak
