-
0
Patient Assessment
- 0.1 Patient Demand
- 0.2 Anatomical location
-
0.3
Patient History
- 2.1 General patient history
- 2.2 Local history
-
0.4
Risk Assessment
- 3.1 Risk Assessment Overview
- 3.2 Age
- 3.3 Patient Compliance
- 3.4 Smoking
- 3.5 Drug Abuse
- 3.6 Recreational Drug and Alcohol Abuse
- 3.7 Condition of Natural Teeth
- 3.8 Parafunctions
- 3.9 Diabetes
- 3.10 Anticoagulants
- 3.11 Osteoporosis
- 3.12 Bisphosphonates
- 3.13 MRONJ
- 3.14 Steroids
- 3.15 Radiotherapy
- 3.16 Risk factors
-
1
Diagnostics
-
2
Treatment Options
-
2.1
Treatment planning
- 0.1 Non-implant based treatment options
- 0.2 Treatment planning conventional, model based, non-guided, semi-guided
- 0.3 Digital treatment planning
- 0.4 NobelClinician and digital workflow
- 0.5 Implant position considerations overview
- 0.6 Soft tissue condition and morphology
- 0.7 Site development, soft tissue management
- 0.8 Hard tissue and bone quality
- 0.9 Site development, hard tissue management
- 0.10 Time to function
- 0.11 Submerged vs non-submerged
- 0.12 Healed or fresh extraction socket
- 0.13 Screw-retained vs. cement-retained
- 0.14 Angulated Screw Channel system (ASC)
- 2.2 Treatment options esthetic zone
- 2.3 Treatment options posterior zone
- 2.4 Comprehensive treatment concepts
-
2.1
Treatment planning
-
3
Treatment Procedures
-
3.1
Treatment procedures general considerations
- 0.1 Anesthesia
- 0.2 peri-operative care
- 0.3 Flap- or flapless
- 0.4 Non-guided protocol
- 0.5 Semi-guided protocol
- 0.6 Guided protocol overview
- 0.7 Guided protocol NobelGuide
- 0.8 Parallel implant placement considerations
- 0.9 Tapered implant placement considerations
- 0.10 3D implant position
- 0.11 Implant insertion torque
- 0.12 Intra-operative complications
- 0.13 Impression procedures, digital impressions, intraoral scanning
- 3.2 Treatment procedures esthetic zone surgical
- 3.3 Treatment procedures esthetic zone prosthetic
- 3.4 Treatment procedures posterior zone surgical
- 3.5 Treatment procedures posterior zone prosthetic
-
3.1
Treatment procedures general considerations
-
4
Aftercare
Parallel-walled implant placement considerations
Key points
- Parallel-walled = straight implants
- Indicated for use in all bone types
- Longest documented implant design
A parallel-walled or straight implant design was first used by Brånemark in 1969 when he introduced the term of “osseointegration”. This makes the straight implant design one of the longest documented designs in scientific literature (more than 45 years of evidence).
Initial Stability – general aspects:
Initial stability, desired for immediate loading, can be readily achieved with parallel-walled implants. They are more technique sensitive than tapered (root-form) implants. Experienced clinicians can judge bone density during osteotomy preparation, and can opt to undersize the osteotomy when soft bone is encountered.
Osteotomy Preparation
Straight drills are used to prepare the osteotomy. The initial drill (2mm) establishes the placement and orientation of the implant path. The initial osteotomy is prepared to the desired length of the implant (after verification on preoperative – possibly calibrated - intra-oral, panoramic x-rays or CT scans with the use of a template). The remaining drills are used with increasing diameters, enlarging the osteotomy until the desired diameter (based on bone type) is achieved. It is recommended to consider the proposed drilling sequence according to the bone density (D1-D4 bone) after the initial drill (2mm), which are explained in the surgery kit box.
Implant Placement
After verification of proper local anesthesia a minimal muco-periosteal flap is raised in order to determine the width of the bone at the implant site and to consider anatomical limitations (e.g. lingual concavity in the posterior lower jaw). The mesio-distal distance of an intermediate gap should be at least 7mm to allow placement of a regular diameter implant. At least 1.5 mm of bone should be on the vestibular/facial site to avoid bony dehiscence of the implant and aesthetical failures.
In the posterior lower jaw a minimum distance of 2 mm from the mandibular canal should be respected to avoid pressure or damage to the inferior alveolar nerve. Preoperative panoramic x-rays with constant magnification or titanium/metal balls or CT scans are mandatory for implant placement.
The desired position of the implant is marked using a rose head bur and to facilitate initial drilling with the 2mm bur. This is probably the most important step as the entry point determines the future position of the implant and indicates the density of the bone (D1-D4) to the surgeon.
In case of very dense bone (e.g. interforaminal region) screw tap drills may be additionally necessary. When the implant bed preparation is finished, the implant is inserted and dependig on the primary stability (>/<40 Ncm) a healing abutment or a cover screw implant is mounted.
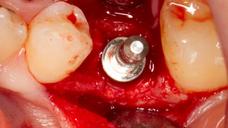
If one opts for the NobelReplace Straight implant (as indicated in Figure 7) the lobe may be oriented toward the buccal site to ease prosthetic steps of crown fabrication with prefabricated angulated components if needed. Finally, always follow the manufacturers' instructions.
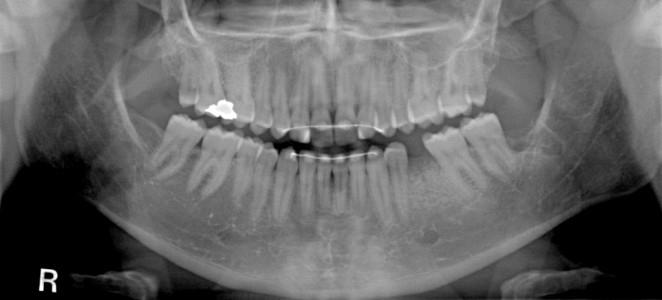
Figure 1: Preoperative x-ray (note: a socket preservation in region 35 (#20 UNIV) had been performed before implant placement).
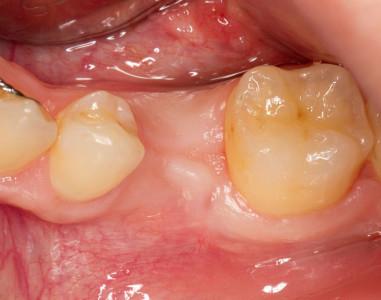
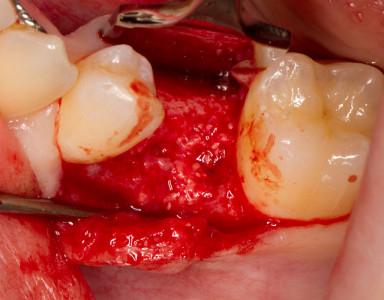
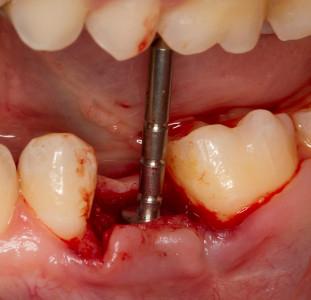
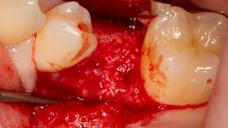
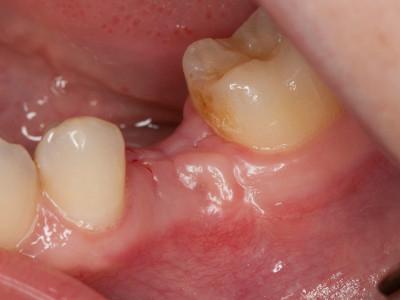
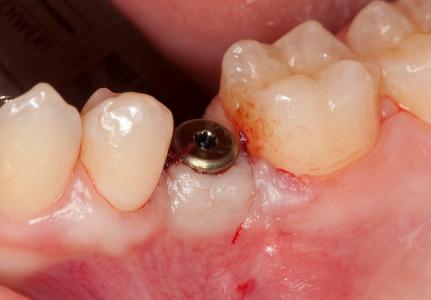
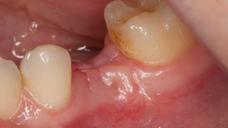
Figure 2: Intermediate gap region #35 (#20 UNIV). Figure 3: Raise of a mucoperiosteal flap (note: small particles from bone substitute visible on crestal bone). Figure 4: Control of implant position.
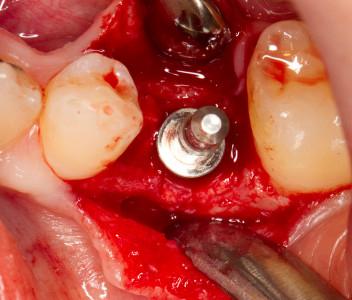
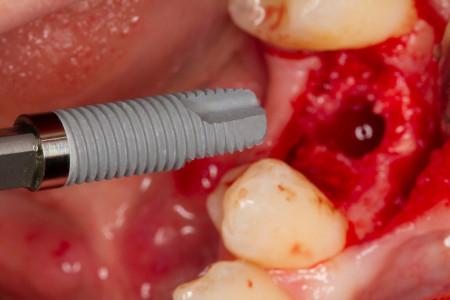
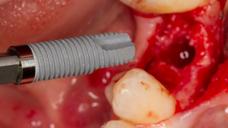
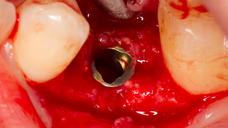
Figure 5: ;Occlusal view of implant direction indicator. Figure 6: Insertion of a NobelReplace Straight implant (4.3x15). Figure 7: Crestal placement of implant in region 35 (#20 UNIV).
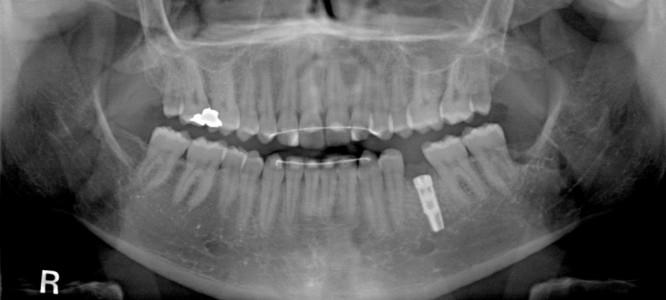
Figure 8: Postoperative X-Ray.
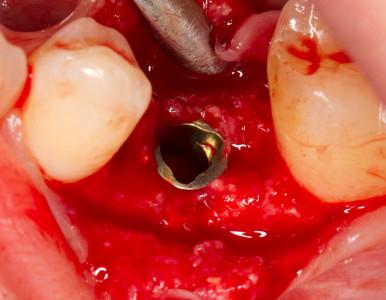
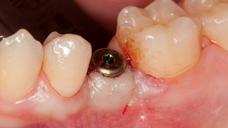
Figure 9: Submerged healing of the implant. Figure10: Replacement of the cover screw and insertion of healing abutment.
Clinical case by courtesy of DMD Heuberer.
